PS3 Eye Camera: How to Remove the IR Filter from a Flat Lens (Video Guide)
This PS3 Eye Camera flat lens IR filter removal guide is based on our YouTube tutorial where we demonstrate the complete PS3 camera IR filter removal process performed on a flat lens.
While this article provides detailed written instructions, you can watch the full video tutorial on how to remove IR filter ftom a flat lens PS3 Eye Camera on DelanClip Youtube to follow along with the modification.
We have now offer to purchase IR ready, modified PS3 Camera Lens
Types of Lenses for the PS3 Eye Camera
⚠️Important: There are two types of PS3 cameras available on the market:
- flat lens – covered in this guide
- convex (curved) lens (guide coming soon)
How to identify your ps3 eye camera lens?
- If the lens surface is completely flat, this guide is for you.
- If it has a curved surface, please wait for our convex lens guide. This distinction is crucial as the modification process differs significantly between the two versions.

Understanding the PS3 camera IR filter removal
Before we begin, let’s understand what we’re doing.
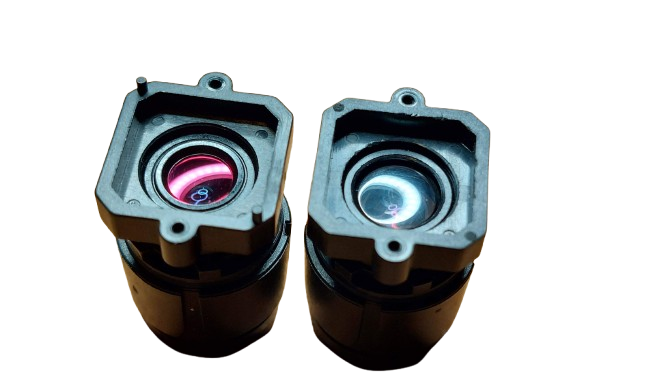
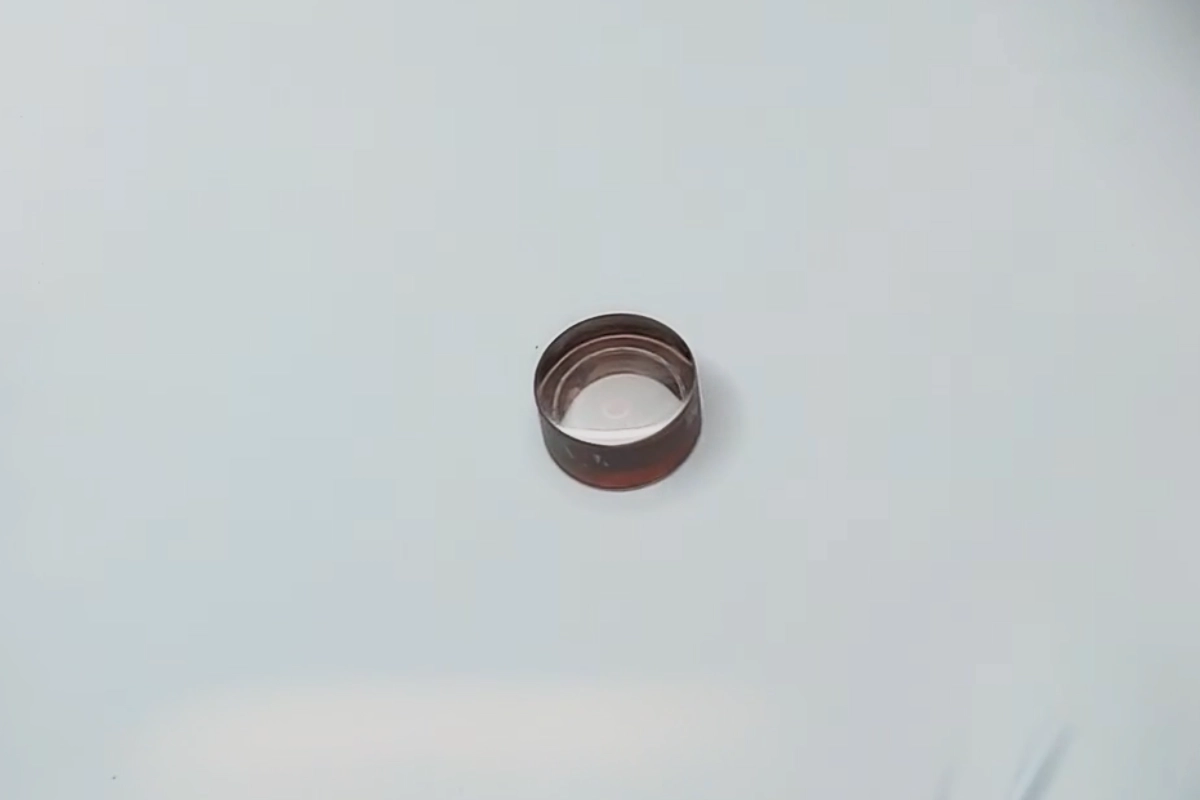
The PS3 camera comes with a purple IR filter that blocks infrared light. By removing this filter, we allow the camera to detect IR light much easier, making it perfect for head tracking applications.
When you remove the IR filter you’ll notice the difference immediately – the lens will change from purple to clear.
Required tools
- Sharp knife
- Three grades of sandpaper:
- 1500 grit (initial removal)
- 2000 grit (smoothing)
- 2500 grit (final polish)
- Protective gloves
- PS3 eye camera with a flat lens
- Clean, well-lit workspace
- Soft cloth for cleaning
- Scissors
- VHS tape or floppy disc film
Preparation
- Clean your workspace thoroughly
- Arrange tools within easy reach
- Put on protective gloves
- Ensure good lighting
- Have a container ready for small parts
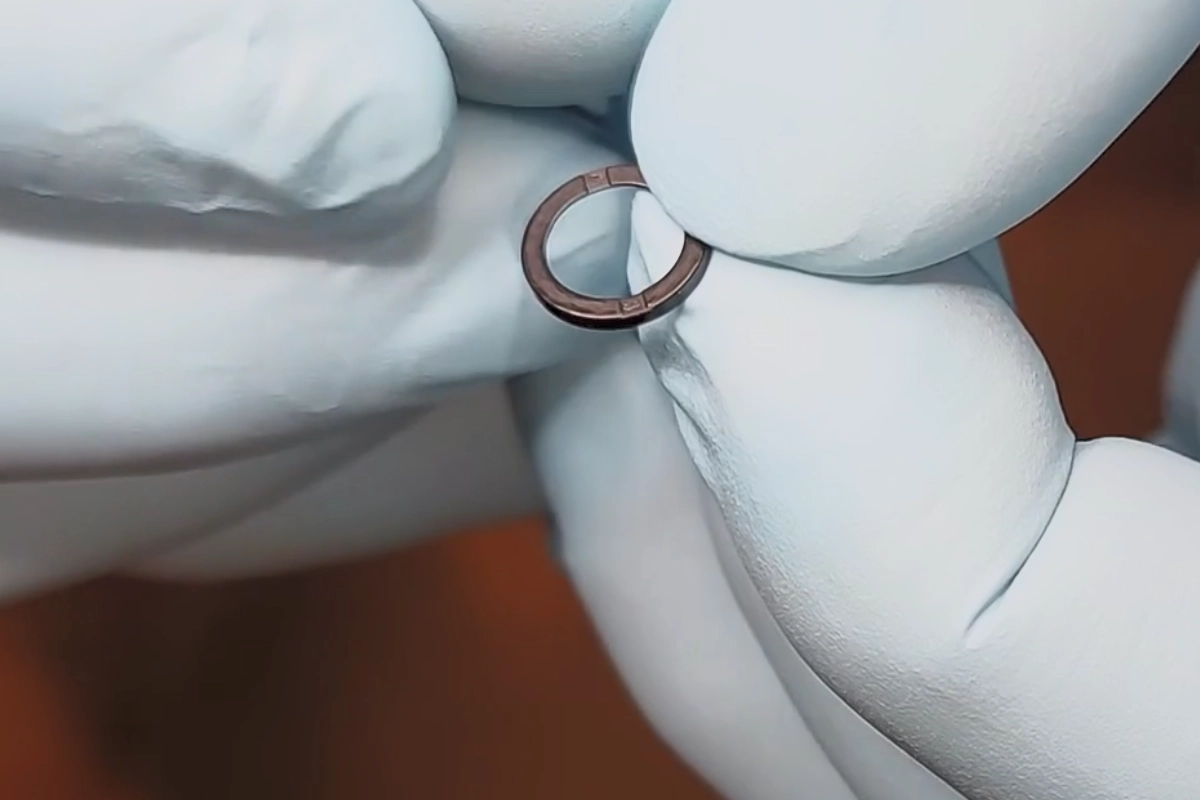
Step 1: Disassembling the PS3 Eye Camera IR Lens
A complete PS3 camera disassembly guide is on our schedule…
- Carefully insert the edge of a knife under the lens ring.
- Gently pry up the ring.
- Remove the ring completely from the camera body.


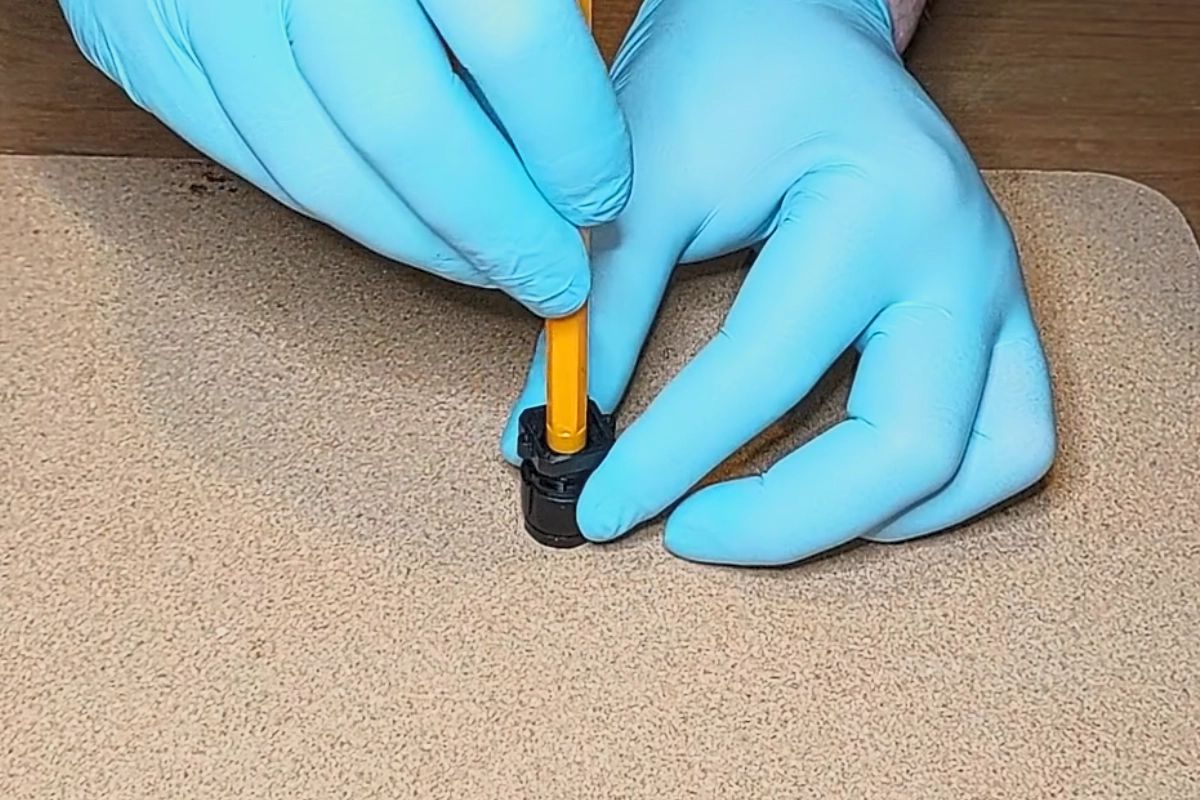
Step 2: Extracting the PS3 Eye Camera Lens
⚠️ Important: Take extra care during this step. Too much force can damage both the lens and housing.
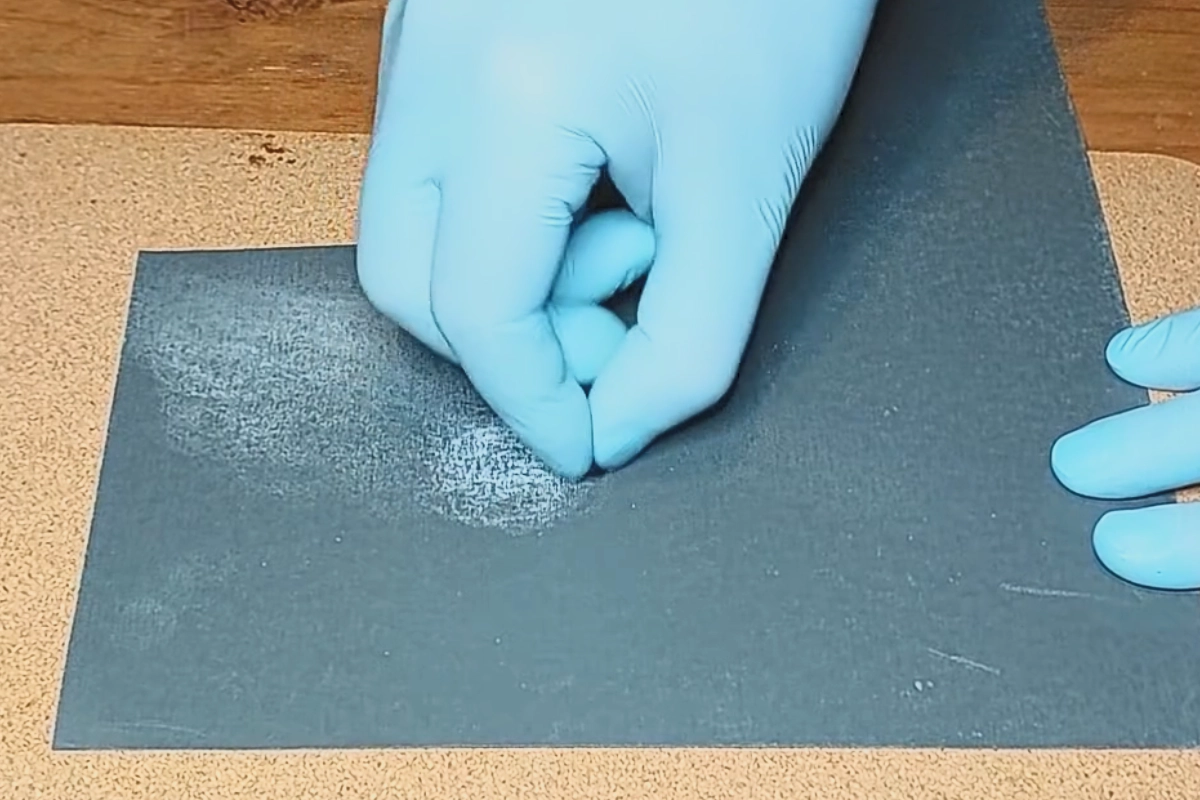
- Grab the entire lens assembly and position it so that the rear faces down toward a cork plate.
- Gently tap the lens onto the cork plate. This will start to loosen the internal glass lens from its housing.
- Repeat the tapping until the lens gradually slides out enough for you to assist its removal with a knife.
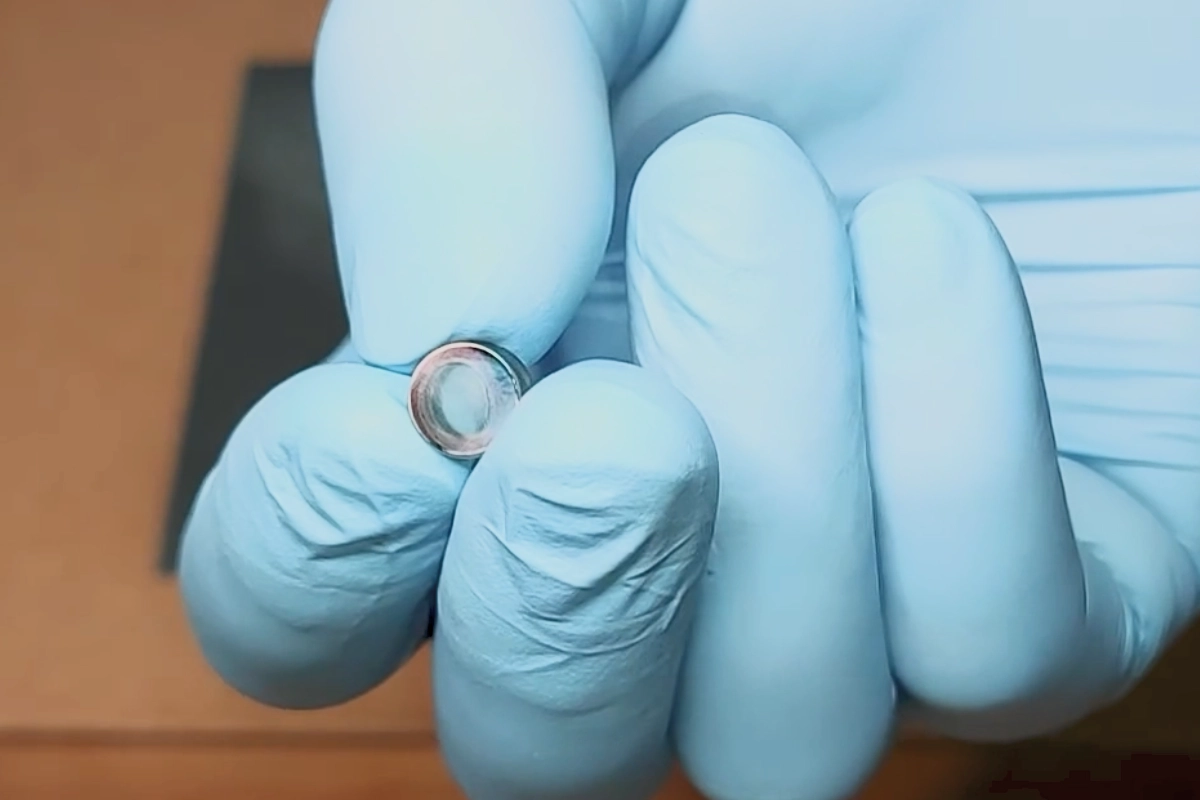
- Once the lens is partially exposed, carefully use your knife to gently leverage it out.
- Be careful not to damage the lens, as it is brittle. Rotate the lens and leverage it from several points to gradually extract it completely.


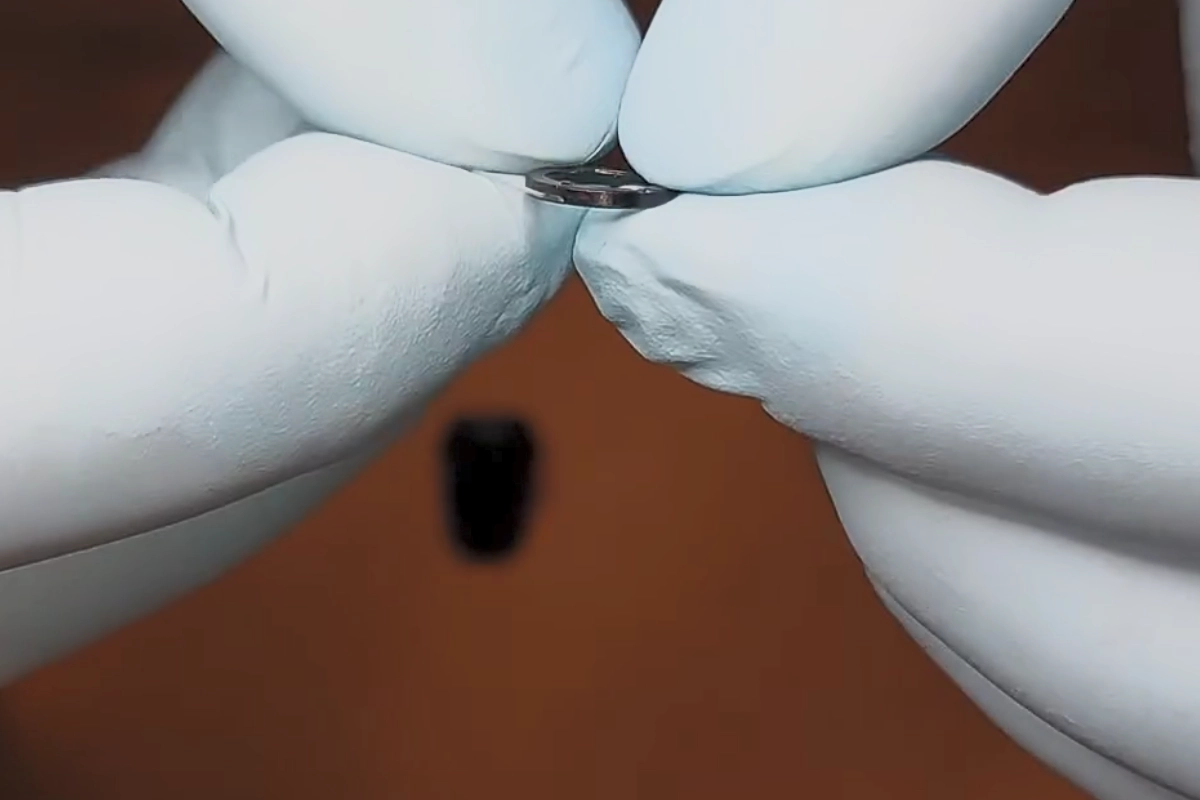
Step 3: Removing the IR Filter
Step 4: Reassembling the Lens
Step 5: Adding the Daylight Filter
This is an important part of the modification:
Creating and Installing the Daylight Filter
-
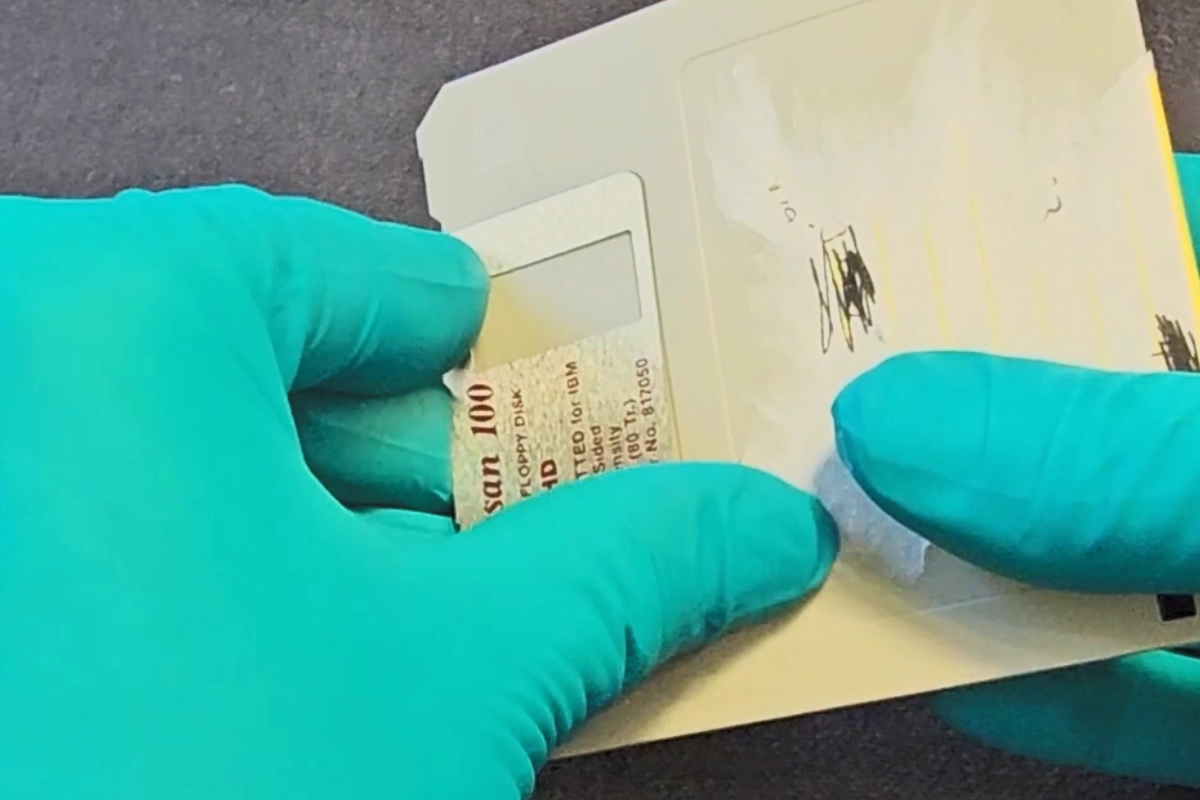
Prepare the Filter Material
- You need to add a daylight filter at the back of the lens.
- This filter can be made from a piece of floppy disk film or VHS tape. In this case, we’ll use floppy disk film, but VHS tape works just as well.
-
Handle with Care
- Do not touch the film with bare fingers, as oils and dirt can contaminate it and degrade image quality.
- It is essential to keep the filter as clean as possible to avoid image distortion.
- Very Important: Wear gloves and make sure your working area is clean.
-
Cut the Filter to Size
- Carefully cut a piece of the film to fit inside the lens housing.
- Ensure the piece is just a little smaller than the inner aperture of the lens housing to make fitting easier.
- It should not be too small, as this can cause unexpected daylight bleed.
-
Install the Filter
- Gently place the cut piece of film into the back of the lens assembly.
- Ensure it sits flat and covers the entire opening.
Note: Proper installation of the daylight filter is crucial for optimal camera performance in head tracking applications.

Step 6: Testing Your Modified Camera
-
Reassemble the Lens Assembly
- Attach the lens assembly back onto the camera mainboard.
- Before fully reassembling the PS3 Eye camera housing, it’s recommended to test the camera.
-
Set Up for Testing
- Place your modified camera in a stable position to prevent it from moving during the test (you can place it on your laptop or a flat surface).
-
Test with OpenTrack
- Follow the PS3 Eye open driver manual to set up OpenTrack: PS3 Eye Camera Head Tracking Manual.
-
Verify the Results
- Run OpenTrack and observe the tracking performance.
- If you see smooth tracking and the expected results on your screen, congratulations! You have successfully modified your PS3 Eye camera.
Step 7: Reassembling the PS3 Eye Camera
Now that you have modified the lens, it’s time to reassemble your camera.
-
Reassemble the Camera Housing
- Follow the disassembly steps in reverse order to reassemble your PS3 Eye camera.
- Ensure all components are properly aligned and securely fitted.
- Tighten all screws and make sure the lens and other parts are firmly in place.
-
Final Inspection
- Double-check that everything is assembled correctly.
- Verify that there are no leftover parts or loose components.
Enjoy Your Modified Camera
Now you can enjoy your new gadget with a variety of head-tracking games: Head Tracking Games.
FAQ - Frequently Asked Questions
What is the PS3 eye camera used for?
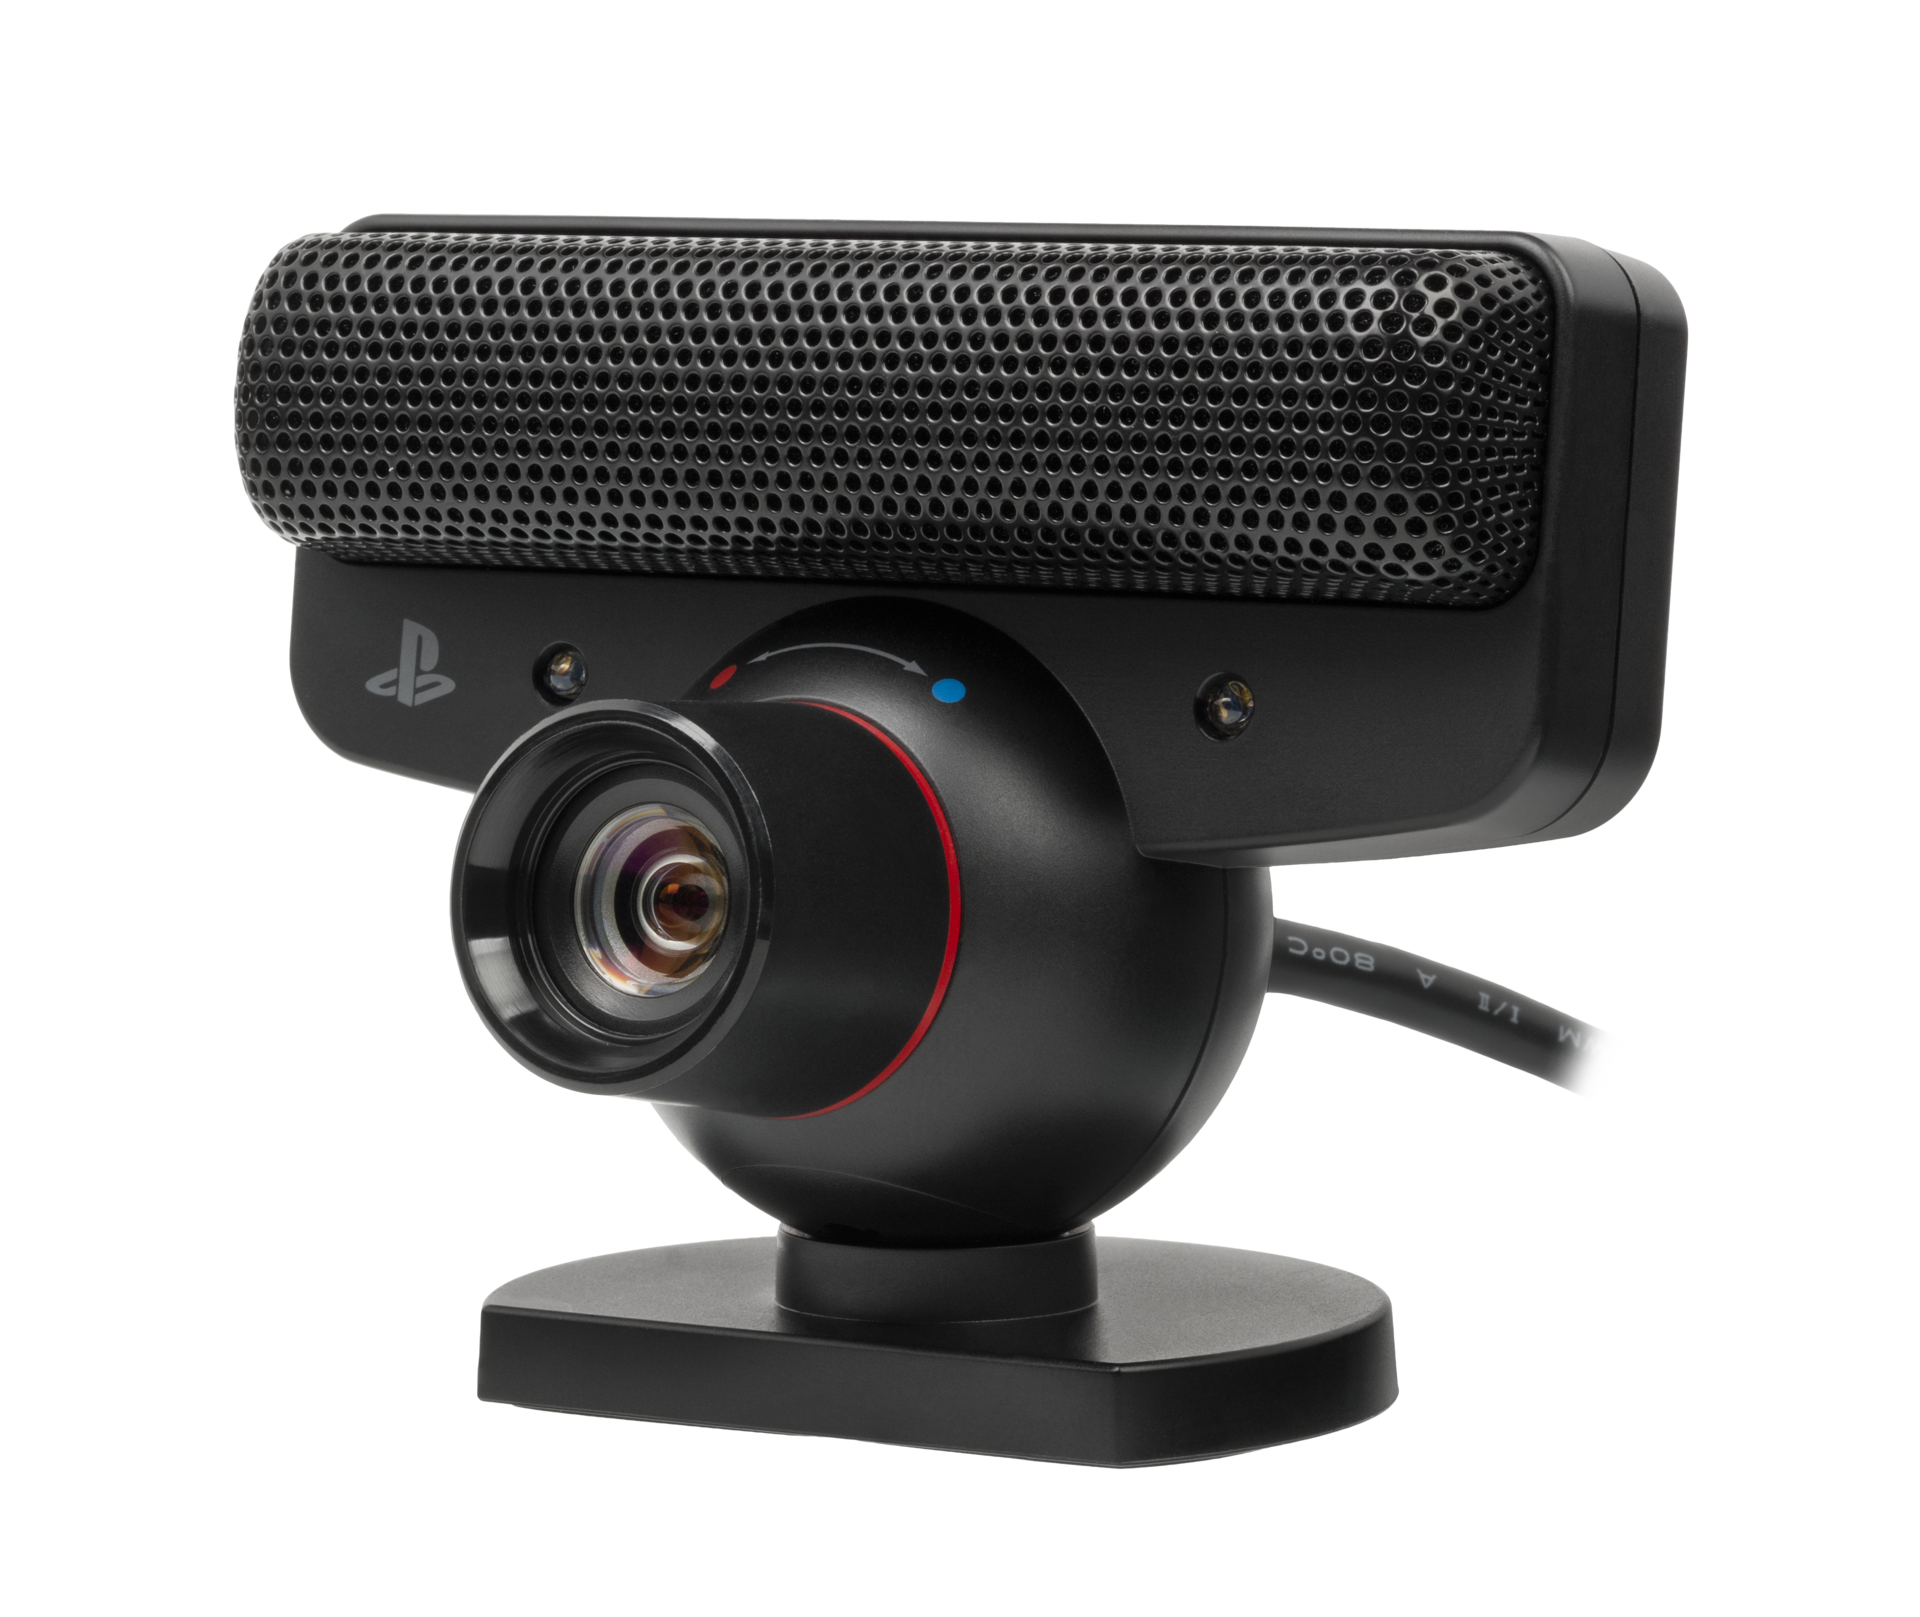
The PS3 Eye Camera is used for motion tracking, video chat, and gaming on the PlayStation 3. It’s also popular for DIY projects like head tracking and IR modifications.
What is IR filter removal in PS3 Eye camera?
IR filter removal is the process of removing the purple-colored filter from your PS3 camera lens. This modification allows the camera to detect infrared light, making it ideal for tracking applications.
What happens if you remove the IR filter from the camera?
Removing the IR filter allows the PS3 Eye Camera to detect infrared light, making it ideal for tracking in low-light conditions or for IR-based projects like head tracking.
Will removing the IR filter damage my PS3 camera?
When done correctly, IR filter removal won’t damage your camera. However, excessive force during sanding or improper lens reinstallation can cause issues.
Can I reverse this modification?
No, IR filter removal is permanent. Make sure you want to proceed before starting the modification.
How to set up PS3 eye camera?
To set up the PS3 Eye Camera, connect it to the PlayStation 3 via USB, and follow on-screen prompts for calibration. For PC, download the appropriate drivers, such as CL Eye drivers or open-source alternatives.
What is the resolution of the PS3 eye camera?
The PS3 Eye Camera has a resolution of 640×480 pixels at 60 FPS or 320×240 pixels at 120 FPS.
Does the PS3 eye camera work on PC?
Yes, the PS3 Eye Camera works on PC with the proper drivers, such as CL Eye or open-source solutions like libusb.
Will the PS3 eye camera work on PS4?
No, the PS3 Eye Camera is not compatible with the PS4. The PS4 requires the PlayStation Camera designed for that console.
Can you use the PS3 eye camera on PS5?
No, the PS3 Eye Camera is not compatible with the PS5, as it requires a dedicated PlayStation Camera for that system.
How do I clean my PS3 eye?
Use a soft microfiber cloth to gently clean the lens. For tougher smudges, lightly dampen the cloth with isopropyl alcohol, avoiding excess moisture.
Wireless PC head tracking built for demanding gamers.
Delanclip Fusion Pro delivers premium, low-latency wireless tracking with universal PC sim compatibility.
It’s the best-value head tracker you can buy, pairing pinpoint precision with a clean, modern design for pro-grade performance without the pro-grade price.
- Cable-free experience, wireless head tracker
- Super precise Ir tracking, perfect for nighttime and daytime players.
- Windows and Linux compatible!
- Plug and play, no drivers needed.
- 2 year warranty
Original price was: £104.17.£89.99Current price is: £89.99.
Delivery:
UK: 1-3 days, £5.99
USA: 3-12 days, £19.99
EU: 3-12 days, £13.99
A reliable, affordable, all-in-one head-tracking setup. Plug in, clip on, and jump straight into ultra-precise IR tracking across your favorite PC sims.
This bundle uses our corded emitter and delivers the same tracking performance as Delanclip Fusion, just with a cable. Perfect for gamers who want pro-level precision and immersion without breaking the bank.
- Corded design and super precise Ir tracking (6DOF)
- Perfect for nighttime and daytime players.
- Windows and Linux compatibile!
- Plug and play, no drivers needed.
- 2 year warranty!
Original price was: £83.33.£59.99Current price is: £59.99.
Delivery:
UK: 1-3 days, £5.99
USA: 3-12 days, £19.99
EU: 3-12 days, £13.99